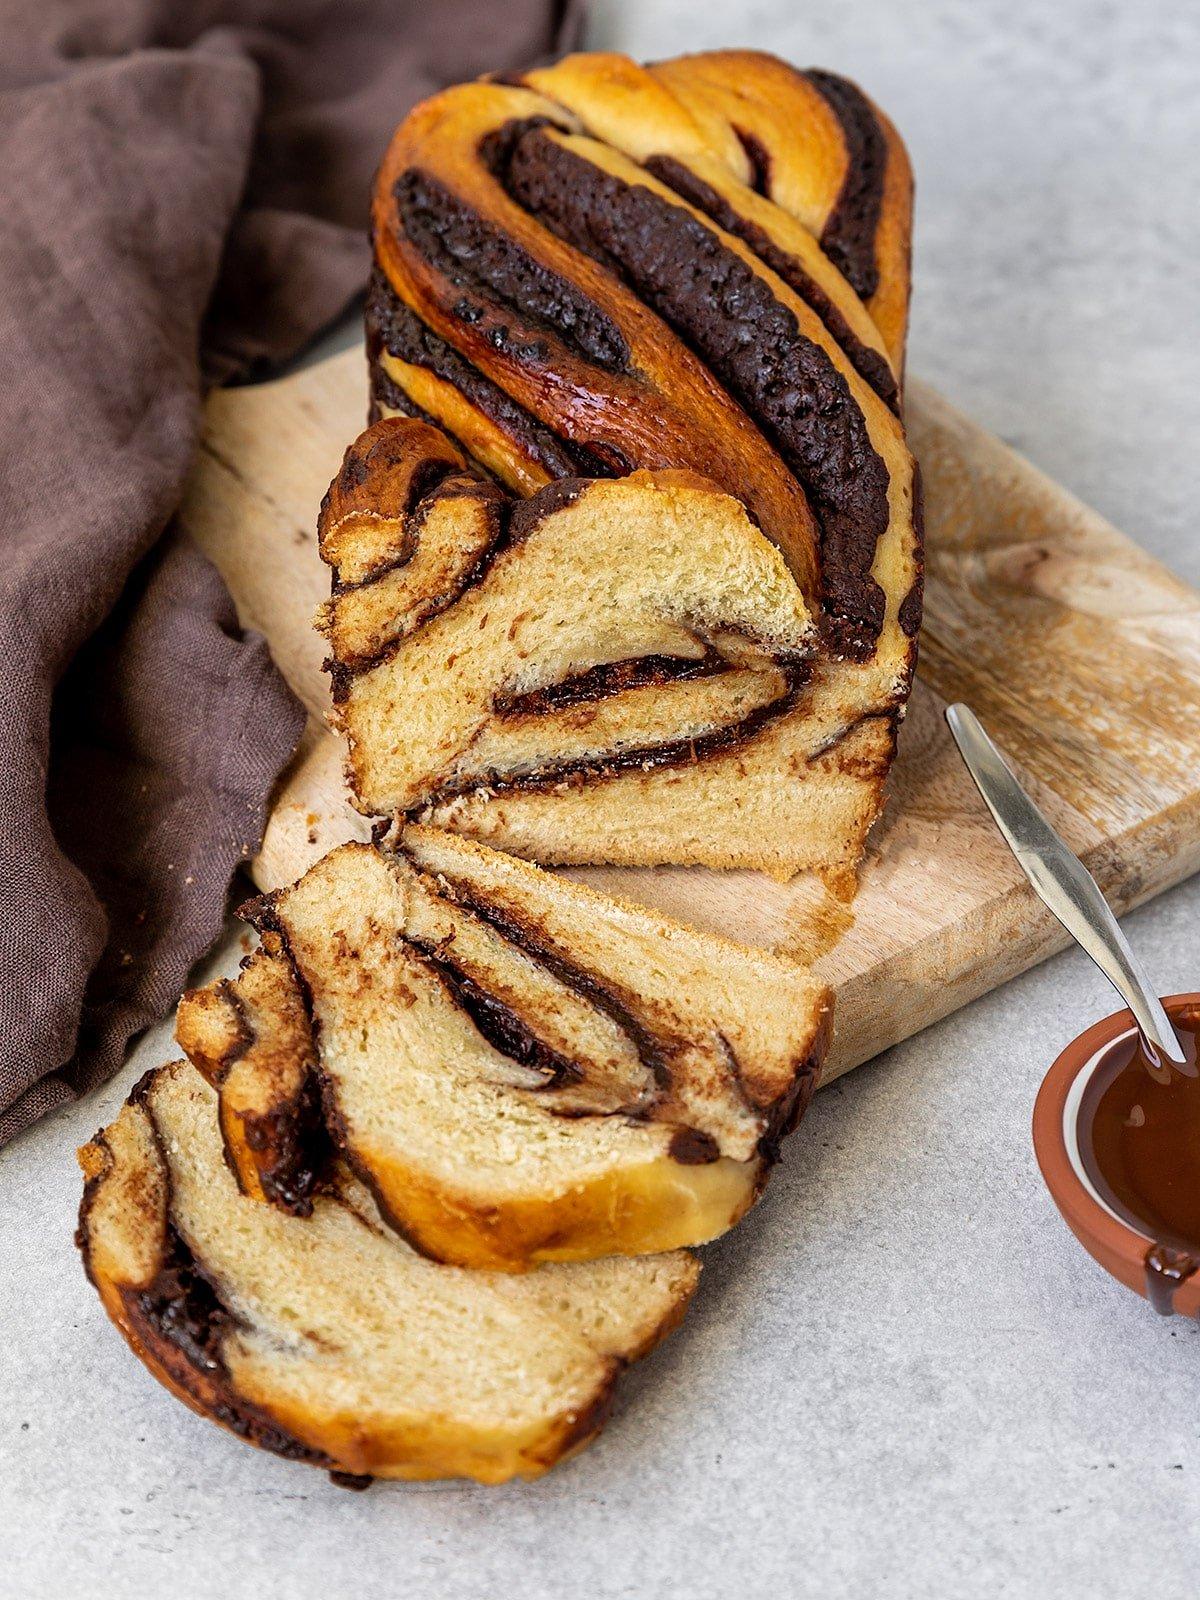
There are many shaping methods to make Asian Marble Milk Bread, but this one is my absolute fave! The chocolate stripes are thin and regular, and when combined with the braided shape, it gives such a lovely look to this bread. If you’re a fan of Japanese milk bread, you’ll adore how the delicate swirls of chocolate complement the soft and fluffy texture of the bread. This technique adds a delightful twist to the traditional Japanese milk bread recipe, making each bite a delectable journey of flavors and textures.
I used a small (20 cm) loaf pan and I tucked the ends of the braided bread under, to fit the pan. This also helps achieving a beautiful and tall loaf. If you don’t have such pan, you can use a larger one, but your bread won’t be so tall. Please make sure you adjust baking time if you use a different pan size.
Introduction about Asian Marble Milk Bread
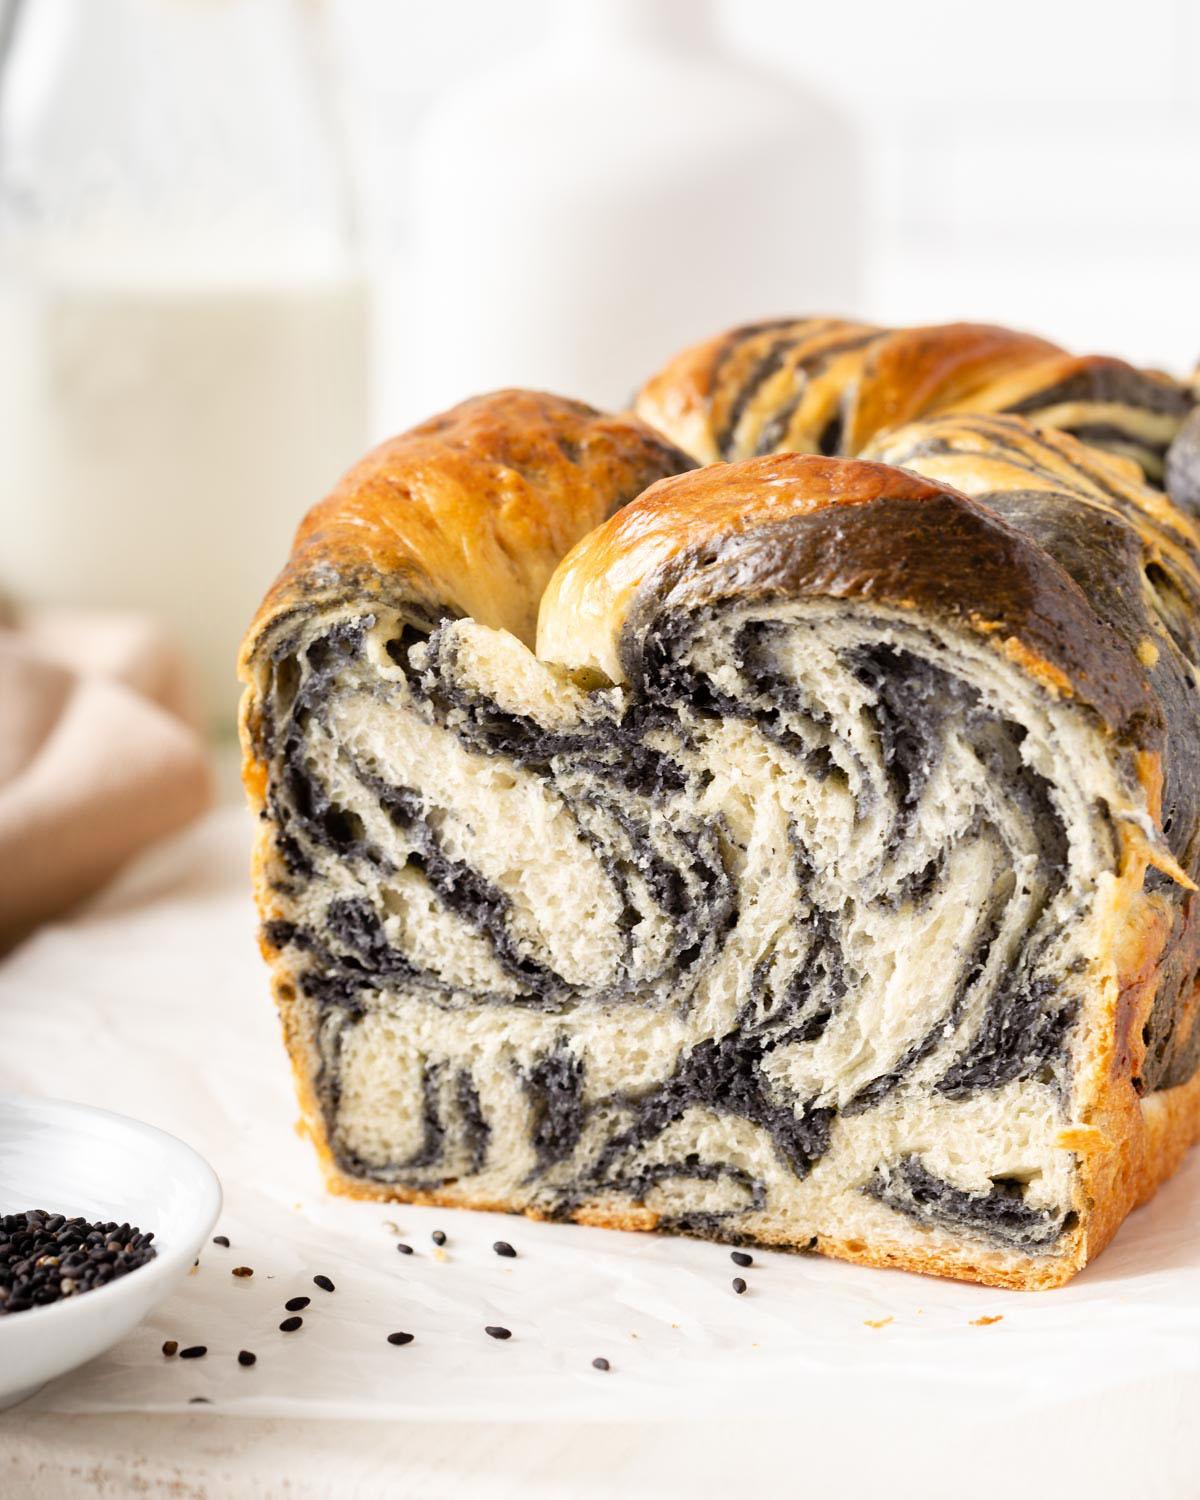
As always, I used the bread starter method (also called tangzhong) which is my favorite method to get a nice and fluffy bread that keeps fresh for some days!
Despite the look, the shaping method is very easy. You will need a plain (white) dough and a smaller (half of the size) chocolate dough. You will then have to stack the two rolled doughs alternating the colors a couple of times to get a layered rolled dough. This is much easier to see than to explain and that’s why I am filming a video tutorial to help you understand this method.
This recipe is egg-free, dairy- free and vegan friendly. The bread results light and fluffy. Feel free to use regular milk and regular butter if you prefer.
This recipe asks for bread flour. I know this is not always available depending on the country you live in. In Switzerland, the flour we find at grocery stores, is usually all purpose flour. Before Covid, I used to buy my flours in Italy because there is such a wide range to chose from in their grocery stores. Now I usually buy bread flour online or I make my own combining Manitoba flour (which is very high in protein) and all purpose flour.
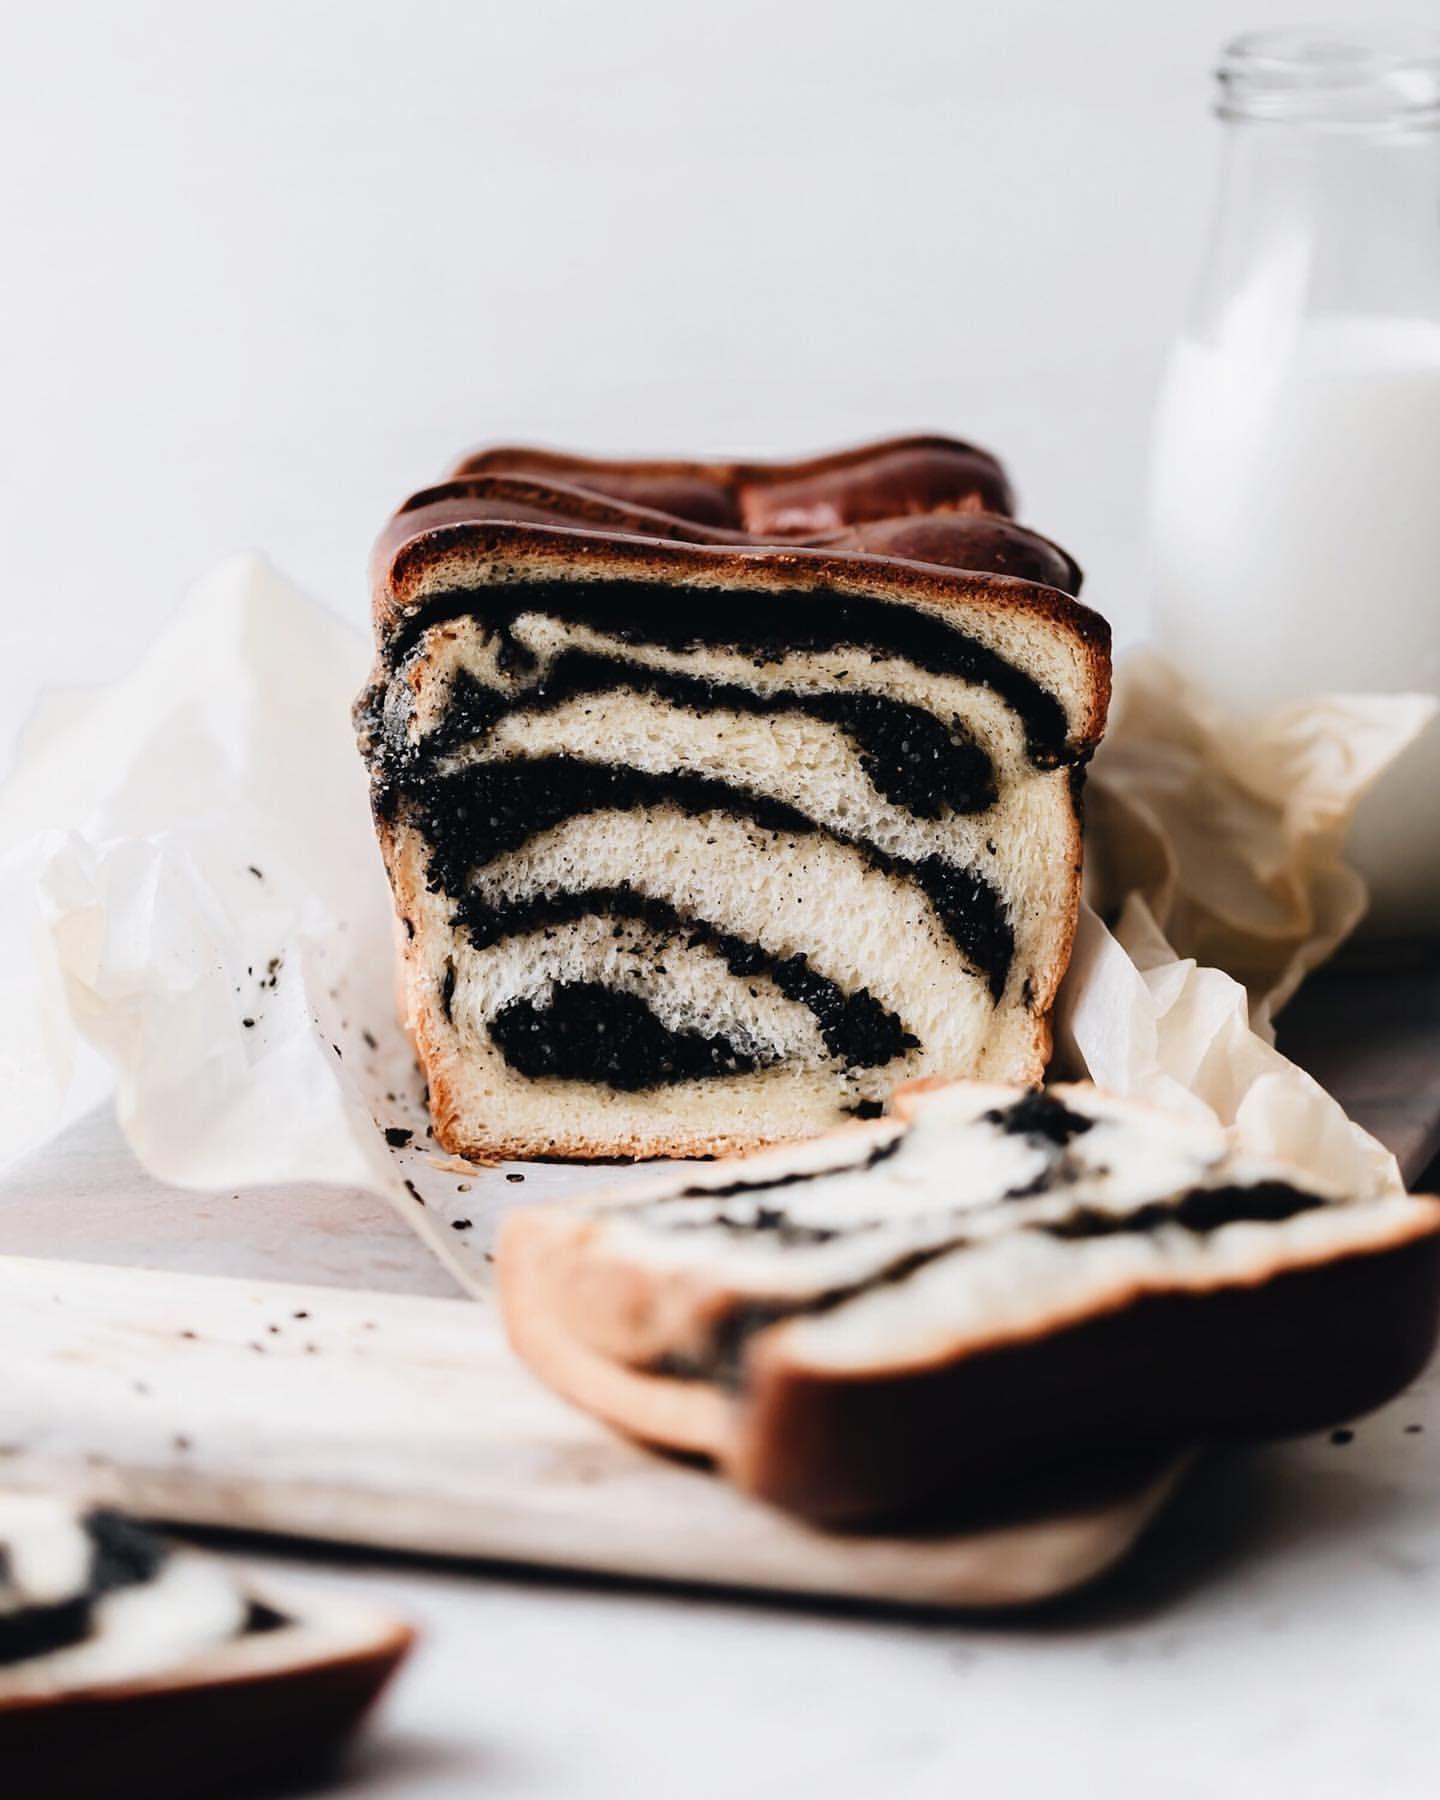
If you’re not sure which flour you need, please check the protein content: it should be between 11-13 %.
Please refer to this summary table for easy understanding:
Cake & Pastry Flour: 7 – 9 % protein
All-Purpose Flour: 10 – 12% protein
Bread Flour: 12 – 16% protein
Whole-Wheat Flour: 16% protein
If you don’t have bread flour, you can use all purpose flour, but the texture will be slightly different )more cakey, less chewy).
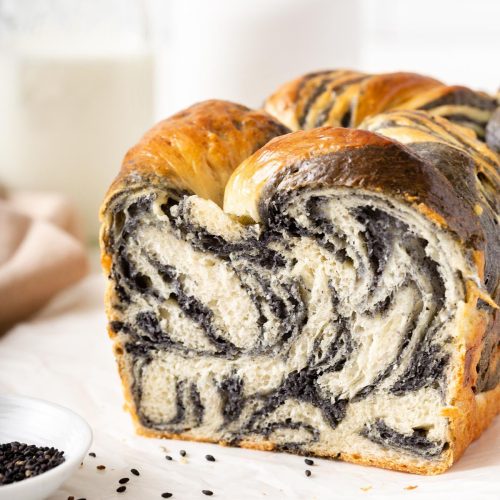
Asian marble bread
Equipment
- 20 cm loaf pan, stand mixer with hook attachment (highly recommended)
Ingredients
Ingredients for the starter (tangzhong)
- 45 g (3 tbsp) bread flour
- 240 ml (1 cup) water
Ingredients for the dough
- all the starter
- 440 g (3 1/2 cups) bread flour
- 2 g instant yeast or 1 pack active dry yeast
- 3,5 g fine salt
- 30 g light brown sugar
- 45 ml full fat soy milk room temperature
- 100 ml water room temperature
- 30 g vegan butter /regular butter softened
Ingredients for the chocolate dough
- 2 tbsp cacao powder
- 2 tbsp soy milk or water
Instructions
Make the starter (tangzhong)
- In a small saucepan whisk together water and flour until there are no lumps. Heat over medium heat until the mixture starts to thicken. When it reaches curd-like texture (65C degrees), remove from heat and let cool down completely before using.
Make the dough
- In the bowl of a stand mixer( or in a large bowl if kneading by hand), combine flour, , instant yeast, sugar and salt. Whisk to combine.Add water, milk and tangzhong and knead until just combined. Cover and let rest for 5 min.After resting time, start kneading on medium- low and add butter. Keep kneading on medium-high until smooth and elastic (about 10 minutes).
- Divide dough into one 1/3 (300g) and one 2/3 (600g) portions.
- Shape the 2/3 portion into a ball and place into a greased bowl. Cover and set aside.
- Add cacao powder and milk to the 1/3 portion and knead on low until completely combined. Shape into a ball, place in a greased bowl, cover and let rest until doubled in size (1h-1h30)
- Roll out plain dough into a 20x30cm rectangle.Roll out cacao dough into a 20x15cm rectangle.
- Place cacao dough over one half of plain dough and fold the remaining plain dough over. Roll out to into a 20×30 cm rectangle again.
- Cut dough cross wise and stack the two doughs. Roll out to combine.Repeat two more times.
- You should end up with a 20×30 cm dough made of several layers.
- Cut dough into 3 equal stripes, lengthwise.
- Roll out each stripe into a rope and braid the 3 ropes together.Fold ends under so that the bread fits the pan
- Let rise until the bread is 3 times the size (about 45-60 min).
- Preheat oven to 175C degrees and bake for 30 minutes. Let cool down into the pan for 15 min then cool completely on a rack.
Video
Cooking tips
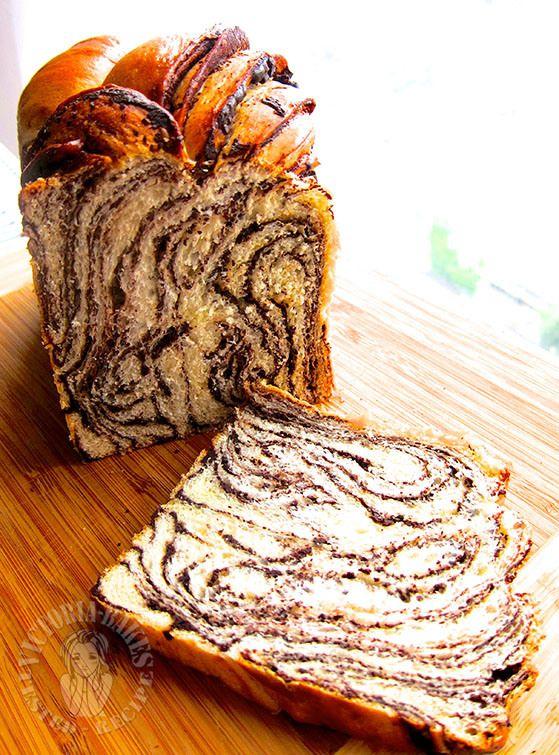
Here are some cooking tips for making Asian marble milk bread:
- Use bread flour: Bread flour has a higher protein content than all-purpose flour, which helps to create a chewy and elastic texture in the bread.
- Knead the dough well: Kneading the dough is an important step to activate the gluten in the flour and create a strong and stretchy dough. Knead the dough for at least 10 minutes, until it becomes smooth and elastic.
- Let the dough rise properly: After kneading, let the dough rise in a warm, draft-free place until it has doubled in size. This can take anywhere from 1-2 hours, depending on the temperature and humidity.
- Divide the dough evenly: When dividing the dough to create the marbled effect, make sure to divide it as evenly as possible to ensure a consistent texture throughout the loaf.
- Use a good quality matcha powder: Using a high-quality matcha powder will ensure that the green tea flavor comes through in the bread. Look for matcha powder that is bright green in color and has a smooth texture.
- Use a toothpick to create the marble effect: To create the marble effect, use a toothpick or skewer to swirl the matcha dough into the plain dough. Be careful not to overmix, as this can cause the colors to blend too much.
-
Bake at the right temperature: Bake the bread at the recommended temperature in the recipe, and if you’re using dutch ovens for sourdough bread, preheat them along with your oven for that perfect artisanal crust. Check the bread often to ensure it doesn’t overbake. The bread should be golden brown on the outside and sound hollow when tapped on the bottom. This combination of precise temperature control and dutch oven baking ensures a delectable, crusty exterior that encases the soft, flavorful interior of your sourdough masterpiece.
By following these tips, you can create a delicious and visually appealing Asian marble milk bread.
